-
Bug
-
Resolution: Done
-
Major
-
None
-
None
-
None
-
Quality / Stability / Reliability
-
2
-
False
-
-
False
-
-
-
2
-
OCMUI Core Sprint 262
How reproducible:
Always
Steps to Reproduce:
- 1) Launch the staging environment and navigate to the OSD wizard
2) Select the cluster type as Red Hat Openshift Dedicated and click on Create cluster.
3) Select the subscription type as Annual and Infrastructure type as Customer Cloud subscription.
4) Click on the next button.
5) Enter the details for the cluster settings and click on the next button.
6) Once the user is on the Networking tab, select the configuration type as Public.
7) Select the checkbox Install into existing and click on the next button.
8) Select an existing vpc from the dropdown (select some unhealthy/dummy vpcs) and click on the next button.
9) On the review page, click on the Create cluster button - The OSD cluster shows the status as Installing and after sometime goes into an error state.
(ex: install an OSD GCP cluster with dummy shared VPC under Custom VPC) . - Notice the behavior of the banner once the cluster goes into an error state.
Actual results:
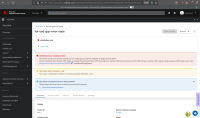
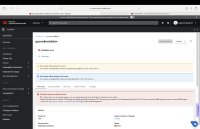
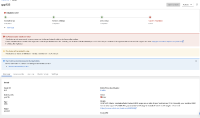
The "Installing cluster" banner is not shown on the Progress bar card once the cluster is in an Error state.
Expected results:
The "Installing cluster" banner should be shown on the Progress bar card and also show the step along which the failure occurred.
- relates to
-
OCMUI-2217 [Cluster Details] Move ClusterProgressCard to the top of the page
-
- Closed
-
- mentioned on


